Description
Most low cost soil sensors are resistive style, where there's two prongs and the sensor measures the conductivity between the two. These work OK at first, but eventually start to oxidize because of the exposed metal. Even if they're gold plated! The resistivity measurement goes up and up, so you constantly have to re-calibrate your code. Also, resistive measurements don't always work in loose soil.
This design is superior with a capacitive measurement. Capacitive measurements use only one probe, don't have any exposed metal, and don't introduce any DC currents into your plants. We use the built in capacitive touch measurement system built into the ATSAMD10 chip, which will give you a reading ranging from about 200 (very dry) to 2000 (very wet). As a bonus, we also give you the ambient temperature from the internal temperature sensor on the microcontroller, it's not high precision, maybe good to + or - 2 degrees Celsius.
To make it so you can use the sensor with just about any microcontroller, we have an I2C interface. Connect a 4-pin JST-PH cable (we have a few stocked) to your microcontroller or single board computer to 3-5V power, Ground, I2C SDA and I2C SCL and then run our Arduino or CircuitPython code to read the temperature and capacitive measurement. No soldering required!
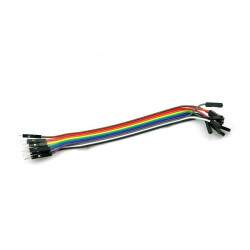
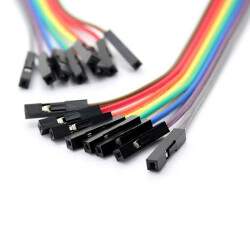
Please note: This is just the sensor, you'll also need a JST 4-PH cable to go along for plugging it in! We have a few options such as one with male header pins, female header pins, and a JST-JST cable. You can use Seeed Grove cables and boards to connect - the Grove cable is a little different looking but will fit just fine.
Check out the full guide for schematics, wiring, code and more!

